- Postition - Can be done with "tweening"
- Opacity - Can be done with "tweening"
- Resize - You have to create each stage of the action first. No tweening.
- Rotate - You have to create each stage of the action first. No tweening.
- Swap - You have to create the layers to swap first. No tweening.
- Think about what you want to happen in this animation. Plan your idea out first!!! No animator ever works without a storyboard. This is an important step because, in Photoshop, if you try to add layers or animation elements after you start your animation, it messes up what you have already completed.
- Complete your storyboard digitally or print it out and draw with a pencil. There is a storyboard template attached to this post in Google Classroom. No animator ever works without a storyboard. This is an important
step because, in Photoshop, if you try to add layers or animation
elements after you start your animation, it messes up what you have
already completed. Write down in the lines below the type of animation you will need to complete the movement (position, opacity, resize, rotation, swap) and any extra layers/elements you will need to add. Samples of each kind of animation are attached to this post in google classroom.
- Create a 8x8 inch document at 72ppi.
- Make an environment for your animation. This can be a solid color or a ground/floor/surface for your cartoon. Consider added a shadow under your cartoon. See examples below.
- Bring your finished cartoon into this document. Do not work in your original cartoon image. Preserve the work you have already done.
- Create any extra layers you might need prior to starting your animation sequence. You will not be able to create additional layers/objects once you have started your animation without affecting what you have already done. TIP: Pull down guides from your rulers if you need them to help you with placement.
- Once you have created all of layers you will need for your animation, open your timeline palette in Photoshop (Window>Timeline).
- Make sure you are in FRAME ANIMATION mode. In your timeline palette, first click "Create Video Timeline", then click on the icon in the bottom left corner of the palette to "Convert to Frame Animation"
- Use your animation palette to create different frames for your animation.
__________________________
WHEN YOU ARE DONE:
Go to File > Export > Save for Web (Legacy) to save the document as a .gifThe .gif can be sent as a message, uploaded to social media, or played with any electronic device. If you would like to save it to your device, use a reverse method similar to how you got your original cartoon drawing to your computer.
__________________________
BETTER ANIMATIONS TELL A VISUAL STORY!
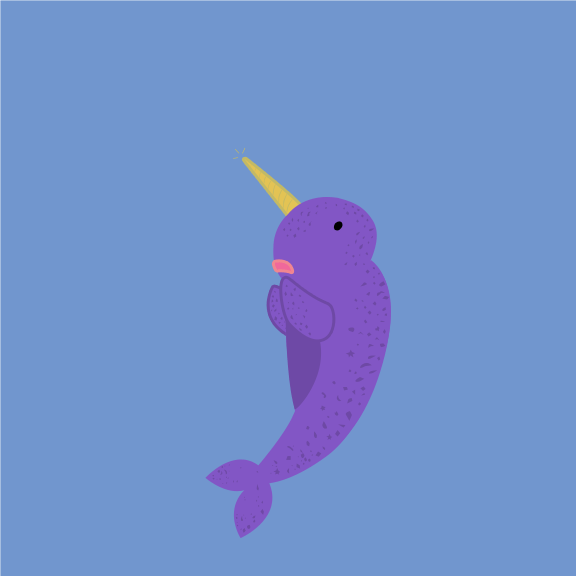
Look at the examples below. Only 2 (maybe 3) of them somewhat tell a story. Others are just "cute." Your animation will be more interesting if it:- Tells a complete story (A man is speeding and gets into an accident)
- Forces the view to ask, "What just happened?" or (A surprised man stands in disbelief as he looks at his damaged car.)
- Forces the viewer to ask, "What is going to happen now?" (A speeding driver sees police lights in his rear view)